The research software encyclopedia makes it very easy to annotate software repositories with criteria or taxonomy items. The pages here show basic interaction to annotate, and it’s recommended to read the annotation tutorial for a complete walkthrough of cloning the https://github.com/rseng/software repository and submitting your annotations to add to the database.
Command Line Annotation
To annotate from the command line, you can choose rse annotate and target
either criteria or the taxonomy.
$ rse annotate taxonomy
$ rse annotate criteria
Since we use GitHub usernames to determine who has annotated what, if your GitHub username is not available via:
git config user.name
then you’ll need to provide that as an argument:
$ rse annotate taxonomy -u vsoch
$ rse annotate criteria -u vsoch
By default, running an annotation session will annotate all software that your GitHub username has not seen. However, if you want to re-annotate repositories that you’ve seen, then specify that:
$ rse annotate taxonomy --all
$ rse annotate criteria --all
For each annotation, the repository is saved after you answer all questions for it. This means if you press Control+C during any time, the repositories you’ve finished annotation for will be saved. If you want to annotate a specific repository, you can specify it:
$ rse annotate criteria -r github/singularityhub/sregistry
$ rse annotate taxonomy -r github/singularityhub/sregistry
Interface Annotation
When you start the Research Software Encyclopedia interface with rse start,
akin to doing on the command line, you might want to export your RSE_CONFIG_FILE
export RSE_CONFIG_FILE=/path/to/rseng/software
and then start the interface!
$ rse start
then you can select an “annotate” button at the top in order to annotate taxonomy items or criteria:

Then you’ll see a choice to annotate software for criteria, or taxonomy items.
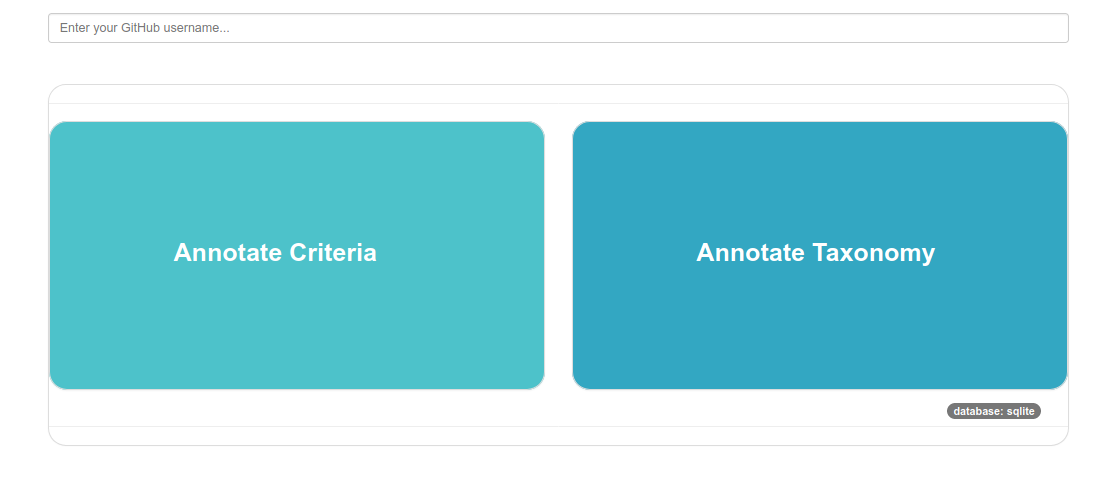
Before you annotate criteria or taxonomy items, you are required to put your GitHub username at the top, as the repository will be updated as you go, and you’ll want to have your results saved with the correct username (new or updated results that don’t match your username will not be accepted).
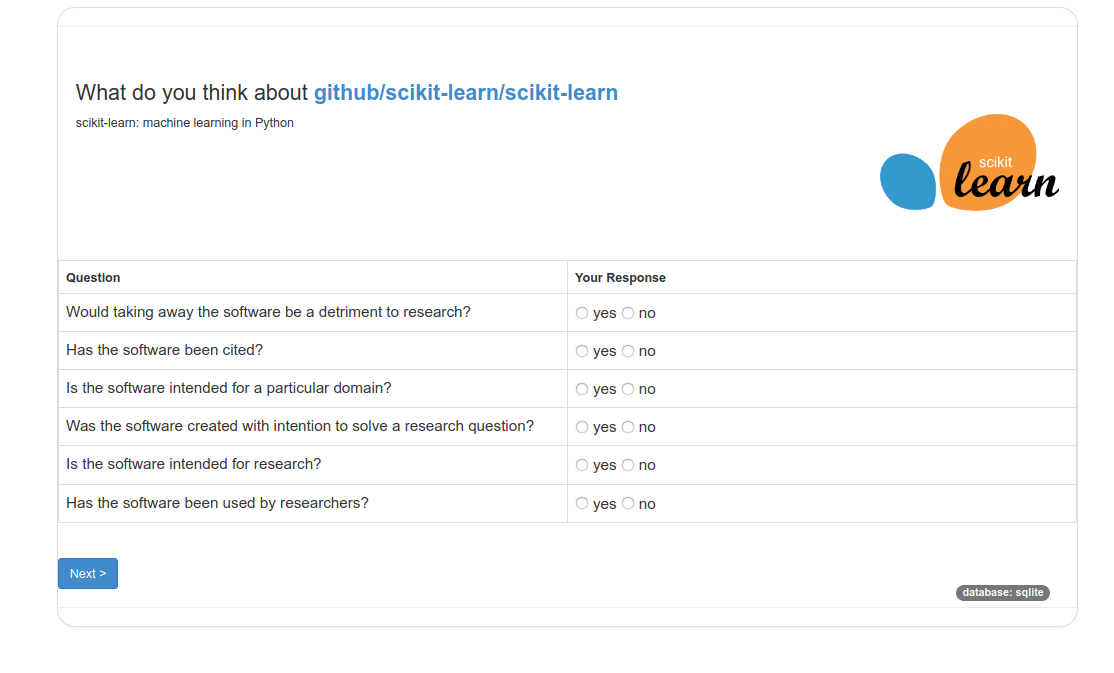
Criteria Annotation
Here is what the criteria annotation interface looks like:
Taxonomy
And here is what the taxonomy annotation interface looks like. Items are sorted based on their groupings, and colored for you to easily see the groups.
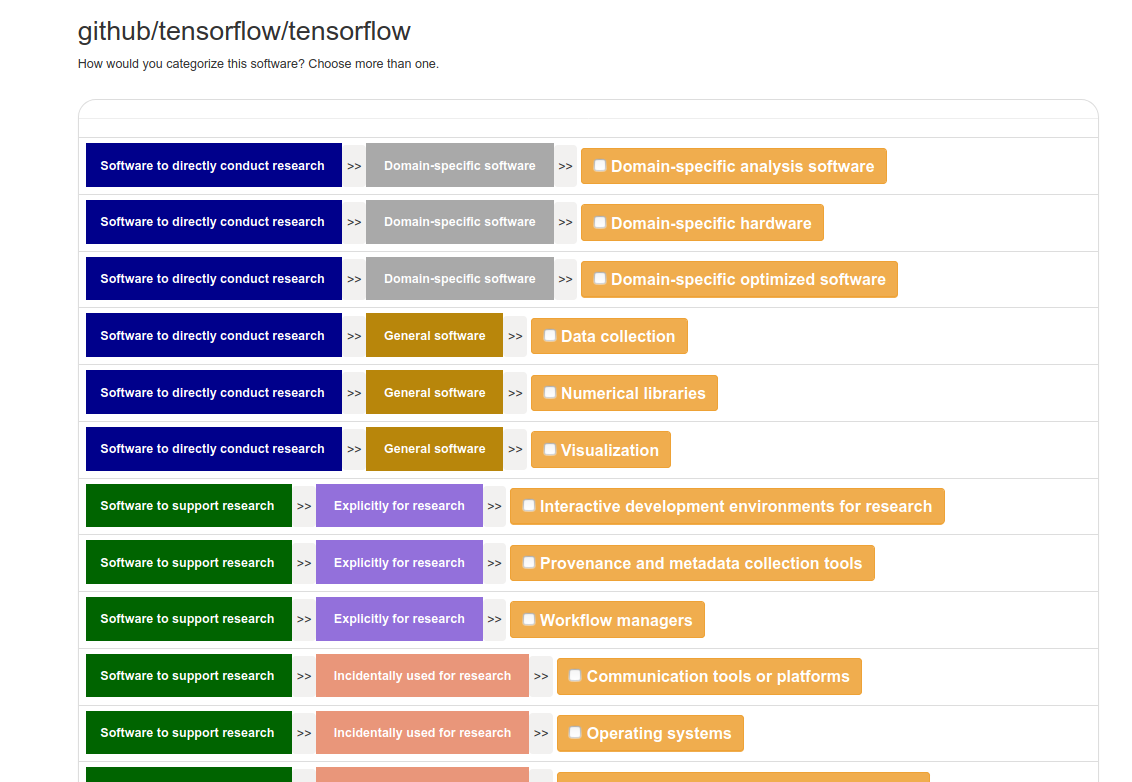
The colors are randomly assigned as the start of the application, and will persist throughout your annotation session.
Order Presented
For both the criteria and taxonomy annotation, you will be presented with repos that you have not annotated yet. For each, you can choose to answer as many questions (criteria) or select as many categories (taxonomy) as you like.