Annotate your Software
In this tutorial, we will walk through using the Research Software Encyclopedia (rse) to annotate software in the
rseng/software database with
criteria and taxonomy items.
- Who is this intended for?
- How do I annotate online?
- How do I annotate locally?
- Where can I learn more?
Who is this intended for?
If you care about research software, or more generally, software, and have want to work towards a definition of research software then this initiative is likely important to you.
How do I annotate online?
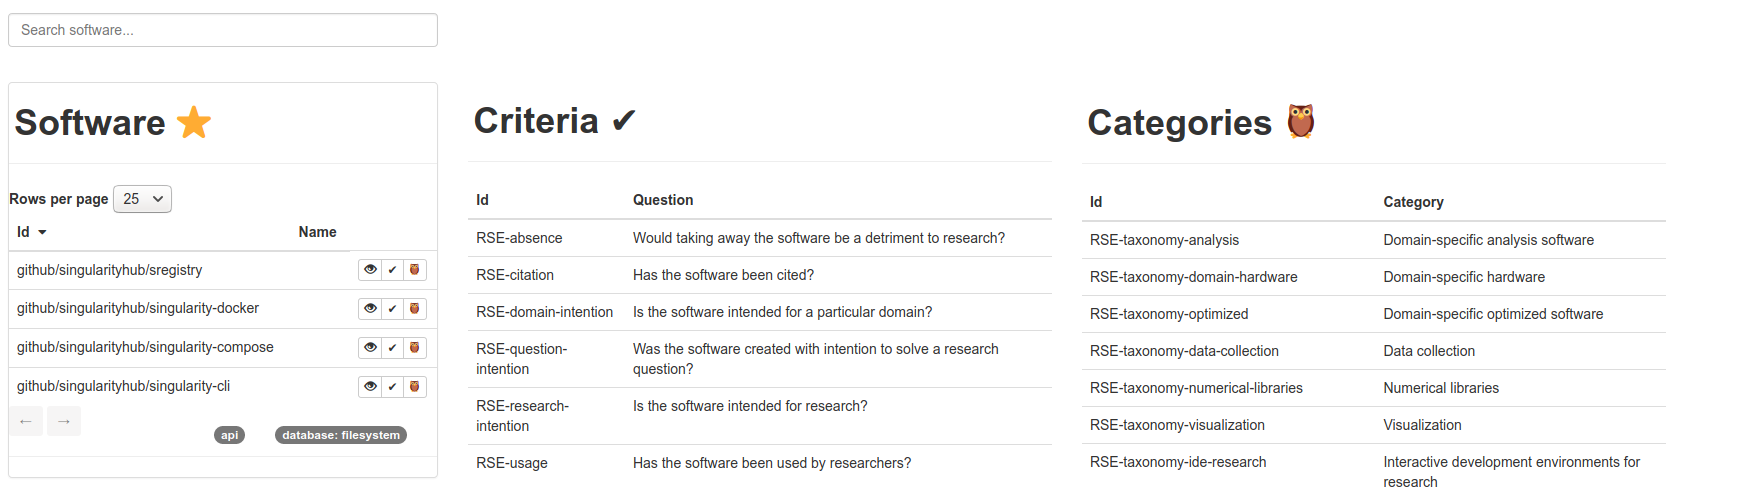
If you browse to the research software database portal next to any repository you can click on the owl 🦉️ to annotate it for taxonomy items, or the check ✔️ to annotate criteria. Annotation comes down to submitting a form that will open an issue and then pull request on your behalf.
We will be hosting a weekly software survey to introduce you to a possibly new library, and ask for your thoughts about it.
How do I annotate locally?
1. Install the Research Software Encyclopedia
You can first install the rse software with pip:
pip install rse[all]
We choose to install “all” so that dependencies for generating a web interface are included.
2. Clone the database
Next, you likely want to fork the research software database to your GitHub account, and clone the fork.
# git clone https://github.com/rseng/software
git clone https://github.com/<fork>/software
cd software
You probably want to check out a new branch for your changes.
git checkout -b updates/username
3. Add software
Let’s say you want to add software, meaning a repository from GitHub or GitLab that isn’t yet included. You can do this
$ rse add github.com/singularityhub/sregistry
INFO:rse.main.database.filesystem:github/singularityhub/sregistry was added to the the database.
Or you can import from a file with a single list of repository names:
# repos.txt
github.com/singularityhub/sregistry
github.com/singularityhub/singularity-compose
github.com/singularityhub/singularity-cli
github.com/singularityhub/singularity-docker
$ rse add --file repos.txt
INFO:rse.main:Database: filesystem
INFO:rse.main.database.filesystem:github/singularityhub/singularity-compose was added to the the database.
INFO:rse.main.database.filesystem:github/singularityhub/singularity-cli was added to the the database.
INFO:rse.main.database.filesystem:github/singularityhub/singularity-docker was added to the the database.
You can use git status to see changes that are made.
At this point you can further interact with your software database
via any of the commands.
3. Annotate!
Annotation Interface
By far the easiest way to annotate is via the annotation interface.
If you are sitting in the root of the repository, then you can start the annotation
interface with rse start. If you want to be able to start the interface from
any folder (outside of the repository root) you should export the path to the
RSE_CONFIG_FILE, the rse.ini file sitting at the root of the repo:
export RSE_CONFIG_FILE=/path/to/rseng/software
and then start the interface!
$ rse start
then you can select an “annotate” button at the top in order to annotate taxonomy items or criteria:

Then you’ll see a choice to annotate software for criteria, or taxonomy items.
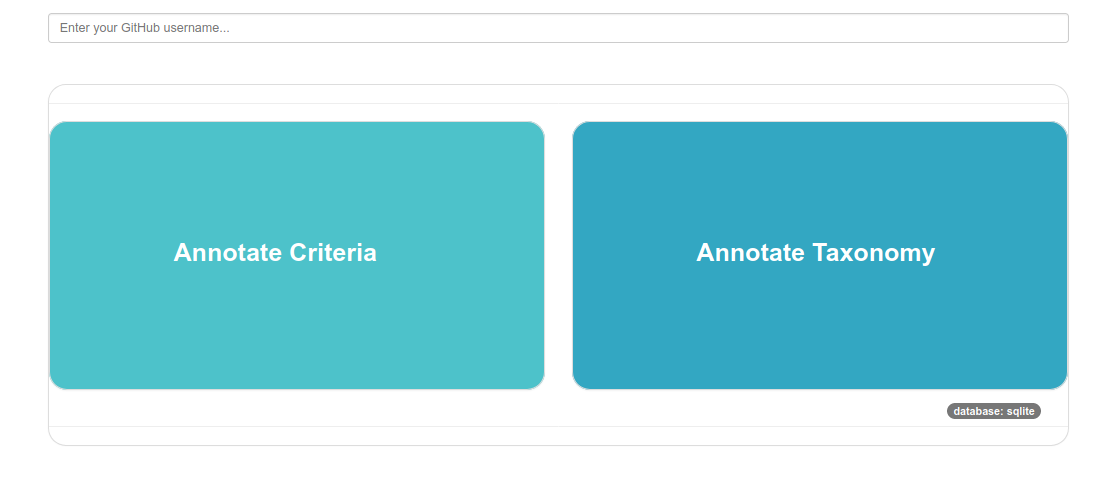
For local annotation, before you annotate criteria or taxonomy items, you are required to put your GitHub username at the top, as the repository will be updated as you go, and you’ll want to have your results saved with the correct username (new or updated results that don’t match your username will not be accepted).
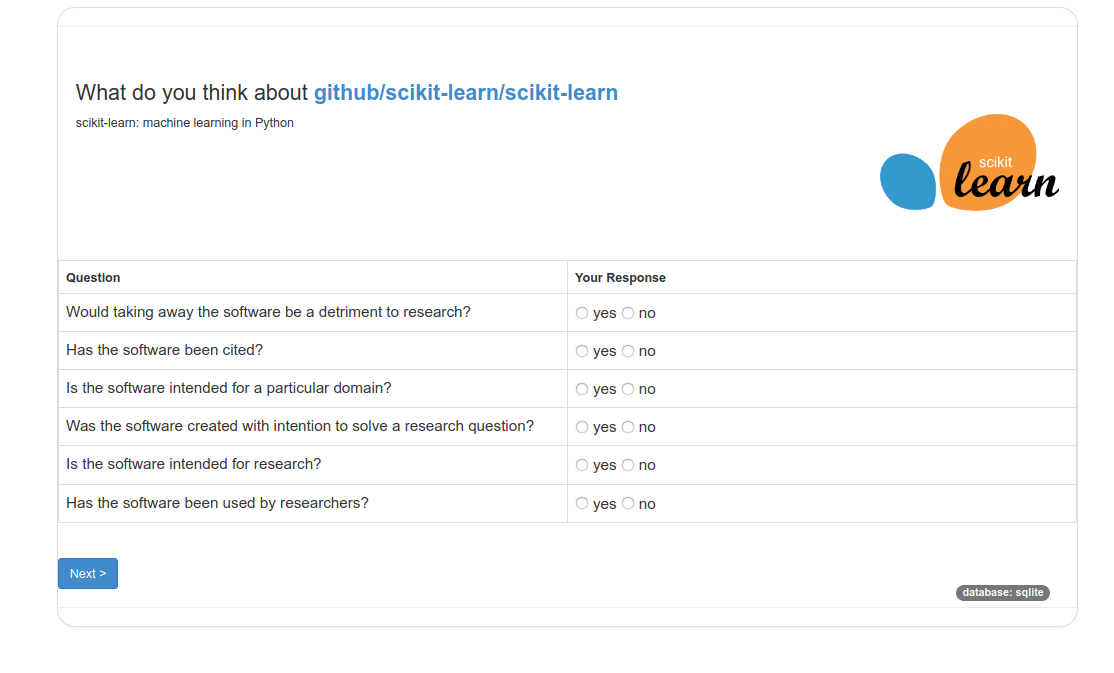
Criteria Annotation
Here is what the criteria annotation interface looks like:
Taxonomy
And here is what the taxonomy annotation interface looks like. Items are sorted based on their groupings, and colored for you to easily see the groups.
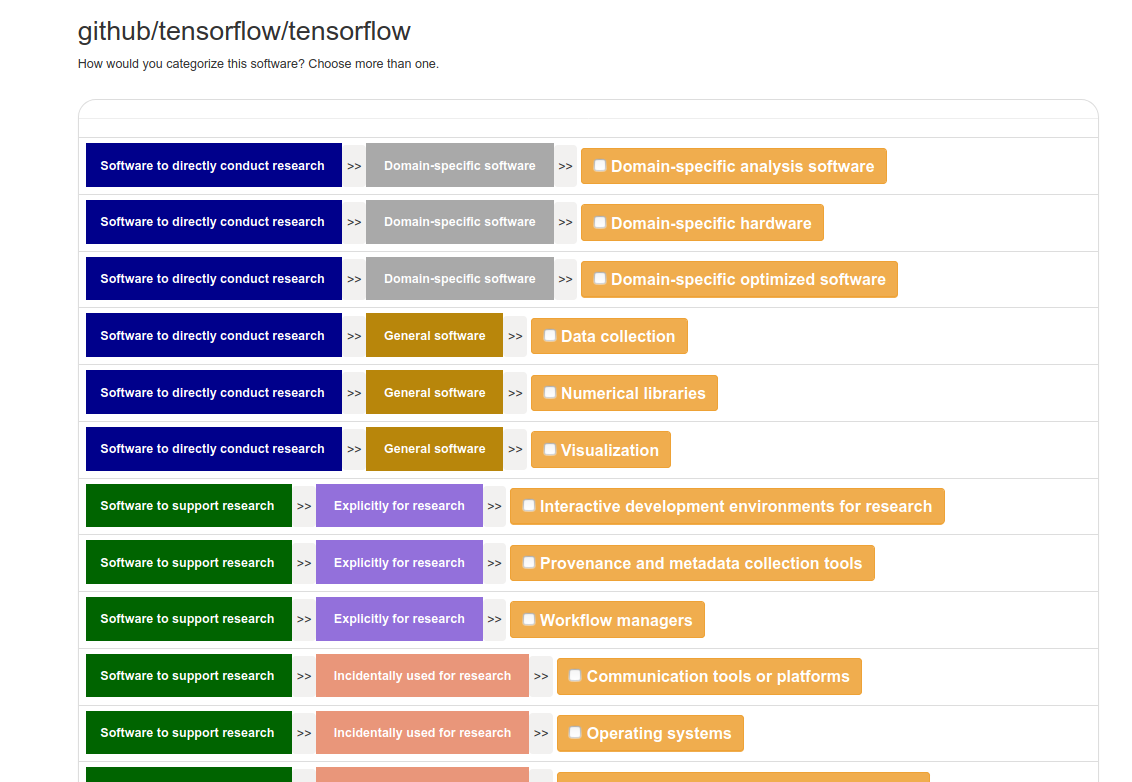
Order Presented
For both the criteria and taxonomy annotation, you will be presented with repos that you have not annotated yet. For each, you can choose to answer as many questions (criteria) or select as many categories (taxonomy) as you like.
Command Line Annotation
To annotate from the command line, you can choose rse annotate and target
either criteria or the taxonomy.
$ rse annotate taxonomy
$ rse annotate criteria
Since we use GitHub usernames to determine who has annotated what, if your GitHub username is not available via:
git config user.name
then you’ll need to provide that as an argument:
$ rse annotate taxonomy -u vsoch
$ rse annotate criteria -u vsoch
By default, running an annotation session will annotate all software that your GitHub username has not seen. However, if you want to re-annotate repositories that you’ve seen, then specify that:
$ rse annotate taxonomy --all
$ rse annotate criteria --all
For each annotation, the repository is saved after you answer all questions for it. This means if you press Control+C during any time, the repositories you’ve finished annotation for will be saved. If you want to annotate a specific repository, you can specify it:
$ rse annotate criteria -r github/singularityhub/sregistry
$ rse annotate taxonomy -r github/singularityhub/sregistry
If you know a doi (digital object identifier) for a repository, please add it!
$ rse label github/singularityhub/sregistry doi 10.5281/zenodo.1012531
Where can I learn more?
You might find these other resources useful:
- The Research Software Database on GitHub
- RSEpedia Documentation
- Google Docs Manuscript you are invited to contribute to.
- Annotation Documentation for RSEpedia
- Annotation Tutorial in RSEng docs
For any resource, you are encouraged to give feedback and contribute!
Recent Posts
- Posted on 21 Mar 2021
- Posted on 07 Mar 2021
- Posted on 21 Feb 2021
- Posted on 21 Feb 2021